Meta Business Suite Setup Guide for D2C Brands in India
Meta Business Suite setup done right the first time: account structure, Pixel, Conversions API, payment methods and agency access for D2C brands.
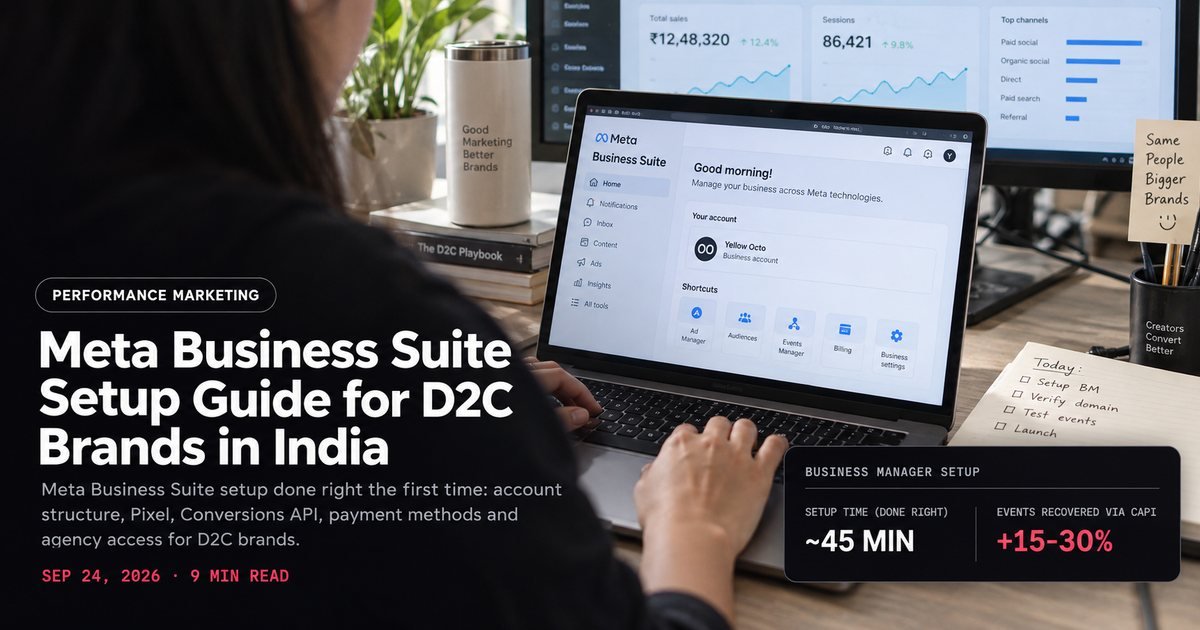
Most D2C founders set up their meta business account on a random Tuesday, click through the prompts fast, and forget about it. Six months later an agency asks for "partner access." Nobody can find the ad account. The Pixel is firing on the wrong page, and the Instagram handle is still linked to someone's personal profile from 2021.
I have fixed this exact mess for a dozen brands now. It always costs a week of ad spend sitting idle. Support tickets, back and forth, lost time. The setup itself takes maybe 45 minutes, done in the right order.
This guide walks through that order: account ownership, Business Portfolio, page connection, Pixel and Conversions API, payment method, ad account, team access, and catalog sync for Shopify. Do it once, correctly, and you will not touch most of it again, and running your actual ad campaigns on top of it gets a lot less painful too.
Why the account owner matters before anything else
The single most common mistake is creating a Meta Business Manager using a personal Facebook profile that belongs to one employee. That person owns the account. If they leave, get locked out, or you have a falling out with your agency, you lose access to your ad history, your Pixel data, and your ad account.
Meta's own admin structure makes this worse than it sounds. A Business Manager account needs at least one personal profile as an admin, there's no way around that, but the profile should belong to the founder or a dedicated ops email, never a freelancer or a junior marketing hire who might switch jobs in three months.
Set up a company Gmail or Outlook address just for this (something like ads@yourbrand.com works fine). Create a Facebook profile with that address, and use it only to hold Business Manager admin rights. Do not use it to post, comment, or browse. This one decision saves brands from account-lockout nightmares more than any other step in this guide.

Creating the Business Portfolio correctly
Go to business.facebook.com and click Create Account. Meta now calls this a "Business Portfolio" rather than the old "Business Manager" name, though most people (and most of Meta's own help docs) still use both terms interchangeably.
You'll be asked for:
- Business name (use your legal or trading name exactly as it appears on your GST registration, not a campaign name or tagline)
- Your name and work email (the admin profile from the step above)
- Business details: address, phone, website URL
Fill the business details fully. Meta uses this for Business Verification later. Verification raises ad spend limits and cuts down on review friction in your first few weeks.
A half-filled profile with a Gmail address and no website is a flag. Meta's automated review systems catch it fast, and ad approvals can stall for weeks.
One thing founders skip: under Business Settings > Business Info, there's a field for your business's legal entity type and tax ID. Indian brands should fill this with their GST number. It is not mandatory to launch ads, but it matters when you apply for Business Verification, and verified businesses get fewer random ad rejections.
Connecting your Instagram and Facebook Page
Inside Business Settings, go to Accounts > Pages, then Accounts > Instagram Accounts. Add your existing Facebook Page first (never create a new one; if you have an old one from years ago, claim that instead of starting fresh, since a Page's age and history affect ad account trust).
For Instagram, you need the account to be a professional account (Business or Creator), not a personal profile. If it's still personal, go into the Instagram app, Settings > Account type and tools, and switch it before connecting. A personal Instagram account cannot be linked to a Business Portfolio at all, and this trips up more founders than you'd expect.
Once connected, assign the Page and Instagram account as assets under your Business Portfolio, not just linked accounts. This distinction matters for step 6 below. Assets can be shared with an agency without ever handing over login credentials.
It also matters for content planning. A properly connected Business account is what gives you the analytics behind what actually gets D2C brands reach on Instagram.

Installing the Meta Pixel and Conversions API
This is the step that decides whether your ads actually learn anything. Go to Events Manager (accessible from the Business Settings left sidebar), click Connect Data Sources, and choose Web. Create a new Pixel, name it after your domain, and Meta gives you a Pixel ID and a snippet of base code.
If your store is on Shopify, skip manual code entirely. Go to Shopify Admin > Settings > Customer events (or the older Online Store > Preferences screen on some plans), search for "Facebook & Instagram" in the Shopify App Store, install it, and connect your Pixel ID there. Shopify's own app handles both the browser Pixel and server-side event forwarding.
Server-side matters more than most founders realize. iOS 14.5's App Tracking Transparency changes, plus browser-level ad blockers, mean the browser Pixel alone misses real events. Somewhere between 15% and 30% of purchases, depending on your traffic mix. That's why Meta pushes the Conversions API. It sends the same purchase, add-to-cart, and checkout events directly from your server, bypassing the browser entirely.
Set up both together through Shopify's native integration or through a tool like Stape if you're on a custom build. Once live, check Events Manager's Overview tab for a green "Active" status next to both Browser and Server. If Server shows a warning icon, your Conversions API isn't actually forwarding data, and your campaigns will optimize on incomplete signal.
A quick way to sanity check this: place a test order, then watch Events Manager's Test Events tab in real time. You should see a Purchase event arrive from both the browser and server sources within a few seconds of each other.
Adding a payment method and setting up the ad account
Go to Business Settings > Accounts > Ad Accounts, click Add, and choose Create a New Ad Account. Pick your timezone and currency carefully here: currency cannot be changed after the ad account starts spending, so if you're running a rupee-priced store, set INR at creation, not later.
Under Billing (accessed from Ads Manager, top right), add a payment method. Meta India accepts most Visa and Mastercard credit cards. UPI works for some account types too, though availability rolls out unevenly.
Card declined repeatedly? It's usually the bank's international transaction block, not Meta. Call your bank first. Ask them to whitelist recurring charges from Facebook/Meta before troubleshooting anything else.
New ad accounts in India often get a low daily spend cap, sometimes as low as ₹250-500/day, for the first week or two. Meta's risk systems are building trust. It resolves on its own with consistent, policy-compliant spend. Don't panic and open a new account; that resets the trust clock to zero.
Assigning team and agency access without giving away the account
This is where most brands get it wrong in the other direction: instead of no access control, they hand over the admin login itself to an agency or freelancer. Don't. Meta Business Portfolios have a proper permission system built exactly for this.
Two options exist:
- 1Add a person directly (Business Settings > Users > People) if it's an in-house hire. Give them Employee access, not Admin, unless they genuinely need to manage billing and other partners.
- 2Add a partner business (Business Settings > Accounts > Ad Accounts > select the account > Partners, or the equivalent under Pages) if it's an agency. You'll need their Business Manager ID, which any competent agency should be able to give you in seconds. Assign specific access (the ad account, the Pixel, the Page) rather than blanket access to everything you own.
Partner access is reversible with one click, from your side, at any time. That's the whole point of it over shared logins. End the relationship, remove access, nothing about your account structure breaks. If you've been running Google and Meta Ads as one blended budget against a CAC target, the same rule applies on the Google side: never hand out full ownership when a restricted role does the job.
Connecting your product catalog for Shopify
Go to Commerce Manager (business.facebook.com/commerce), click Add Catalog, choose Ecommerce Platform, and pick Shopify from the list. Authorize the connection from your Shopify admin when prompted. Shopify pushes your full product feed, including images, prices, and variants, and keeps it synced automatically as you add or update products.
Once the catalog syncs, check for disapproved items under Commerce Manager > Catalog > Items. Common causes: missing GTIN/barcode fields, product images with excessive text overlay, or pricing mismatches between your site and the feed. Fix these before launching any dynamic or catalog-based ad, since Meta pauses delivery on flagged items automatically.
The catalog is what powers dynamic retargeting later. Showing a shopper the exact product they viewed or abandoned in checkout. That single ad format is often the highest-ROAS placement a D2C brand runs. It can't exist without a clean, connected catalog underneath it.
This groundwork is also what makes running your actual ad campaigns far less painful once you get there.

What to check before you launch your first campaign
Run through this before spending a rupee:
- 1Admin profile is a dedicated company login, not a personal one that could walk out the door.
- 2Business Portfolio details are fully filled, including GST/tax ID.
- 3Page and Instagram account are added as assets, not just linked.
- 4Pixel shows Active on both Browser and Server in Events Manager.
- 5Ad account currency matches your store's currency and can't be reset later.
- 6Team members and any agency have scoped Partner or Employee access, never the admin login.
- 7Catalog is synced and free of disapproved items.
Miss any one of these and you'll find out the expensive way. Usually mid-campaign, when a Pixel stops firing or an agency asks for access you can't grant cleanly. This matters even more heading into the festive stretch, when brands scramble to set festive-season budgets on infrastructure nobody checked first.
If any of this feels like more setup than your team has time for, a proper Meta Ads account structure and campaign build handles the whole stack in one pass.
Or book a free strategy call and walk through your specific setup.
Book a call